

In today's post, we will be looking at the replacement of door knobs. Worn or outdated door knobs are fairly easy to replace which is a great way to upgrade the look and functionality of your bedroom. With a few basic tools (and a little time investment), you can swap out an old and loose knob for a brand-new one in no time. In this DIY guide, we'll walk you through the process step-by-step.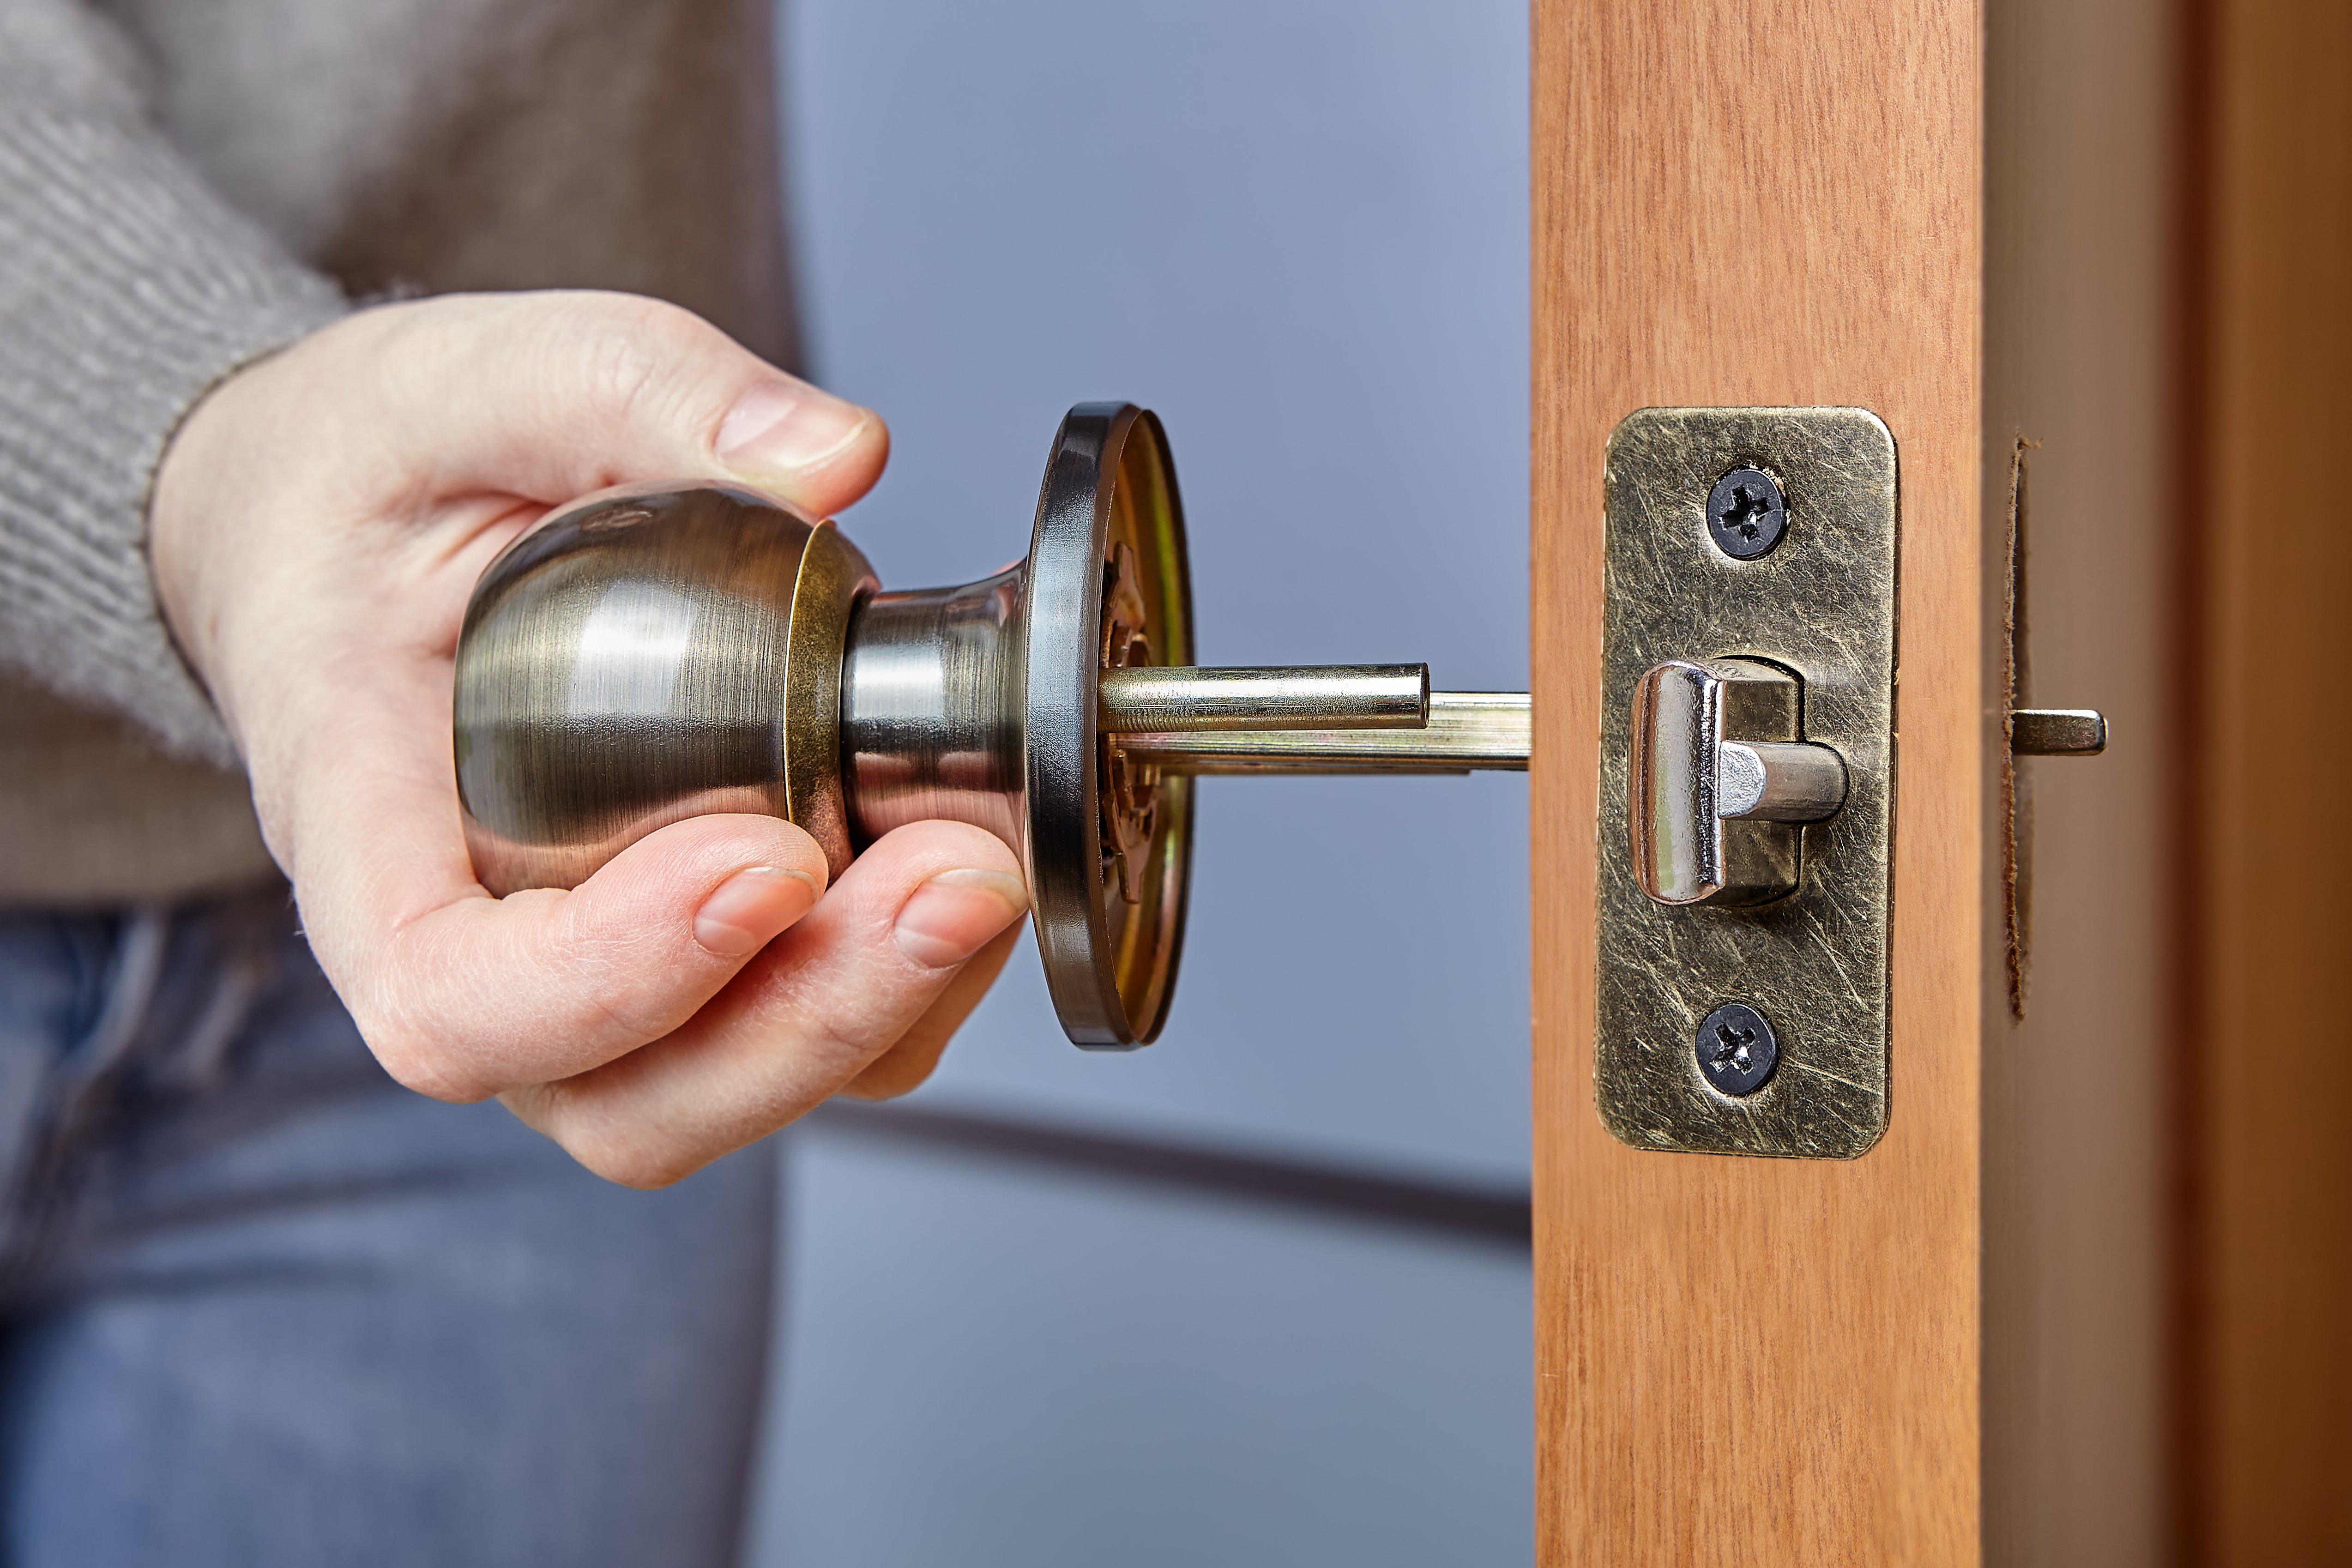
Why Replace a Door Knob;
There are a few common reasons you may want to replace a door knob; we’ve listed them for you below:
It's old and worn out. Over time knobs can become loose and difficult to operate. Replacing it can restore smooth opening and closing.
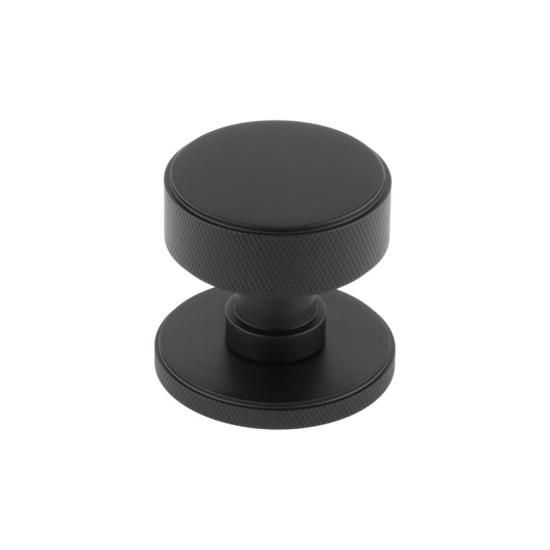
You want to update the style. Swapping out an outdated boring knob for a more modern, stylish one can give your door a whole new look.
Broken knobs. If a knob is broken, missing parts or simply not functioning anymore it's probably best to replace it.
Enhanced security. Some modern locksets come with security features such as deadbolts. Swapping out a knob for a lockset can enhance safety.
Safety Precautions
When dealing with doors in your home prioritising safety is crucial;
Make sure to switch off the power to the door area from the breaker box to prevent any risk of electrocution.
Handle tools with care. Wear gloves to protect your hands.
Consider having an assistant if you need a pair of hands.
Keep children and pets away from the work area, for their safety.
What You'll Need
The following are the supplies required for replacing a door knob;
New door knob/lockset kit. Buy one designed specifically for interior or exterior doors.
Head screwdriver. This is usually required for removing most modern knobs.
Pencil and tape measure. For marking measurements.
Drill with various drill bits. Necessary if your new knob requires drilling new holes.
Chisel. Can help enlarge or clean out old screw holes if needed.
Safety gear like gloves and eye protection. For your security when drilling or chiselling.
Step 1: Removing the Old Knob
Start by removing the old knob assembly:
Turn off any power that may be running to the door at the box. Better safe than sorry!
Unscrew and remove the faceplate, usually on the interior side of the door, with a screwdriver.
On the edge of the door, locate any visible screws still securing the old knob/lockset. Remove them with a screwdriver.
Carefully pull the knob assembly away from the door edge. Be cautious of any sharp edges as you work the assembly loose.
Also, remove any remaining latch assembly pieces still stuck inside the door edge. You may need to wiggle them free or use pliers.
Step 2: Installing the New Knob
Once the old door knob is fully removed, you're ready to install the new one:
Hold the new knob assembly up to the door to confirm it will fit properly. Mark with a pencil where new screw holes will need to be drilled if necessary.
Use a drill to carefully drill any new holes required for the new lockset. Refer to the product instructions for hole sizing.
Insert the latch assembly into the door edge and tighten the screws to secure it in place. Don't over-tighten.
Attach both sides of the knob tightly using a screwdriver. The knobs should be snug but still operate smoothly.
Finish by snapping the faceplate into place to conceal the interior side screws.
Test the knob operation several times, opening and closing the door and ensuring the latch engages properly.
Step 3: Performing Final Adjustments
Once installed, some minor adjustments may be needed to ensure smooth, long-lasting operation of your new knob:
Tighten loose screws. Over time, screws can begin to loosen from the repeated turning of the knob. Tighten them with a screwdriver if the knob ever feels loose.
Lubricate the latch. You can use a dry lubricant spray to keep the latch operating smoothly. Just insert the straw into the side of the door edge and give a 1-second spray into the latch mechanism.
Adjust the strike plate. If there is a gap between the door and frame when closed, slightly loosen the strike plate screws and adjust its position to close the gap.
Use an abrasive tool to gently smooth any uneven areas around the hole that could potentially cause discomfort. When complete, thoroughly remove any particulate matter.
Step 4: Cleaning Up
Here are the final steps you should follow to complete your knob replacement project;
- Gather all the tools, hardware and any debris that may be lying around and dispose of the knob
- Take a cloth. Wipe away any dust or grime that may have accumulated on the door or surrounding surfaces during the project.
- If you had turned off the power at the breaker box initially remember to turn it on now.
- Test the lock function both when the door is open and closed to ensure that it engages and disengages correctly.
- It's an idea to register your lockset, with the manufacturer if there's a warranty available. This will give you access to customer service if needed.
Step 5; Tips for Avoiding Common Issues
To prevent problems in the future pay attention to these points;
- Make sure all drilling is done straight so that there are no holes that won't align properly.
- Position both sides of the knob equidistant from the edge of the door for alignment.
- Insert screws without overtightening or forcing them to avoid stripping their heads.
- Before installation confirm whether exterior doors open outward as knobs are designed specifically for each direction.
- Follow the manufacturer-provided template or installation instructions for hole spacing.
- If required choose a knob design approved for use, on fire doors as not all knobs can be used in situations.
Step 6; Tips, for Maintaining Your New Knob
Once you have successfully installed your knob follow these maintenance steps to keep it in great condition;
- To avoid any damage to the finish use soap and water when cleaning the knobs.
- Every six months or so lubricate the latch to ensure it doesn't stick.
- After the month double-check that all screws are tight to prevent any wobbling of the knob.
- If you're installing the knob on a door apply silicone caulk around the faceplate to protect it from water seepage.
- In case of any scratches on the knob consider using touch-up paint or finish to prevent corrosion.
Conclusion
Replacing a worn-out or outdated door knob is a do-it-yourself project that requires time and tools. Pay attention to precision work, for alignment and smooth operation while prioritising safety precautions. By following these steps you'll have a knob enhancing your home in no time.